Self-Hosting
If you want, you can self-host your own instance of Modrunner on a private VPS, just for you!
While this guide is written for those unfamiliar with hosting, Node or Linux, it is still recommended that you have a somewhat decent idea of these tools do before proceeding.
Creating a Discord application
The first step is to create the application on Discord. Head to the Discord Developer Portal. You'll land on the Applications page. Here's what mine looks like:
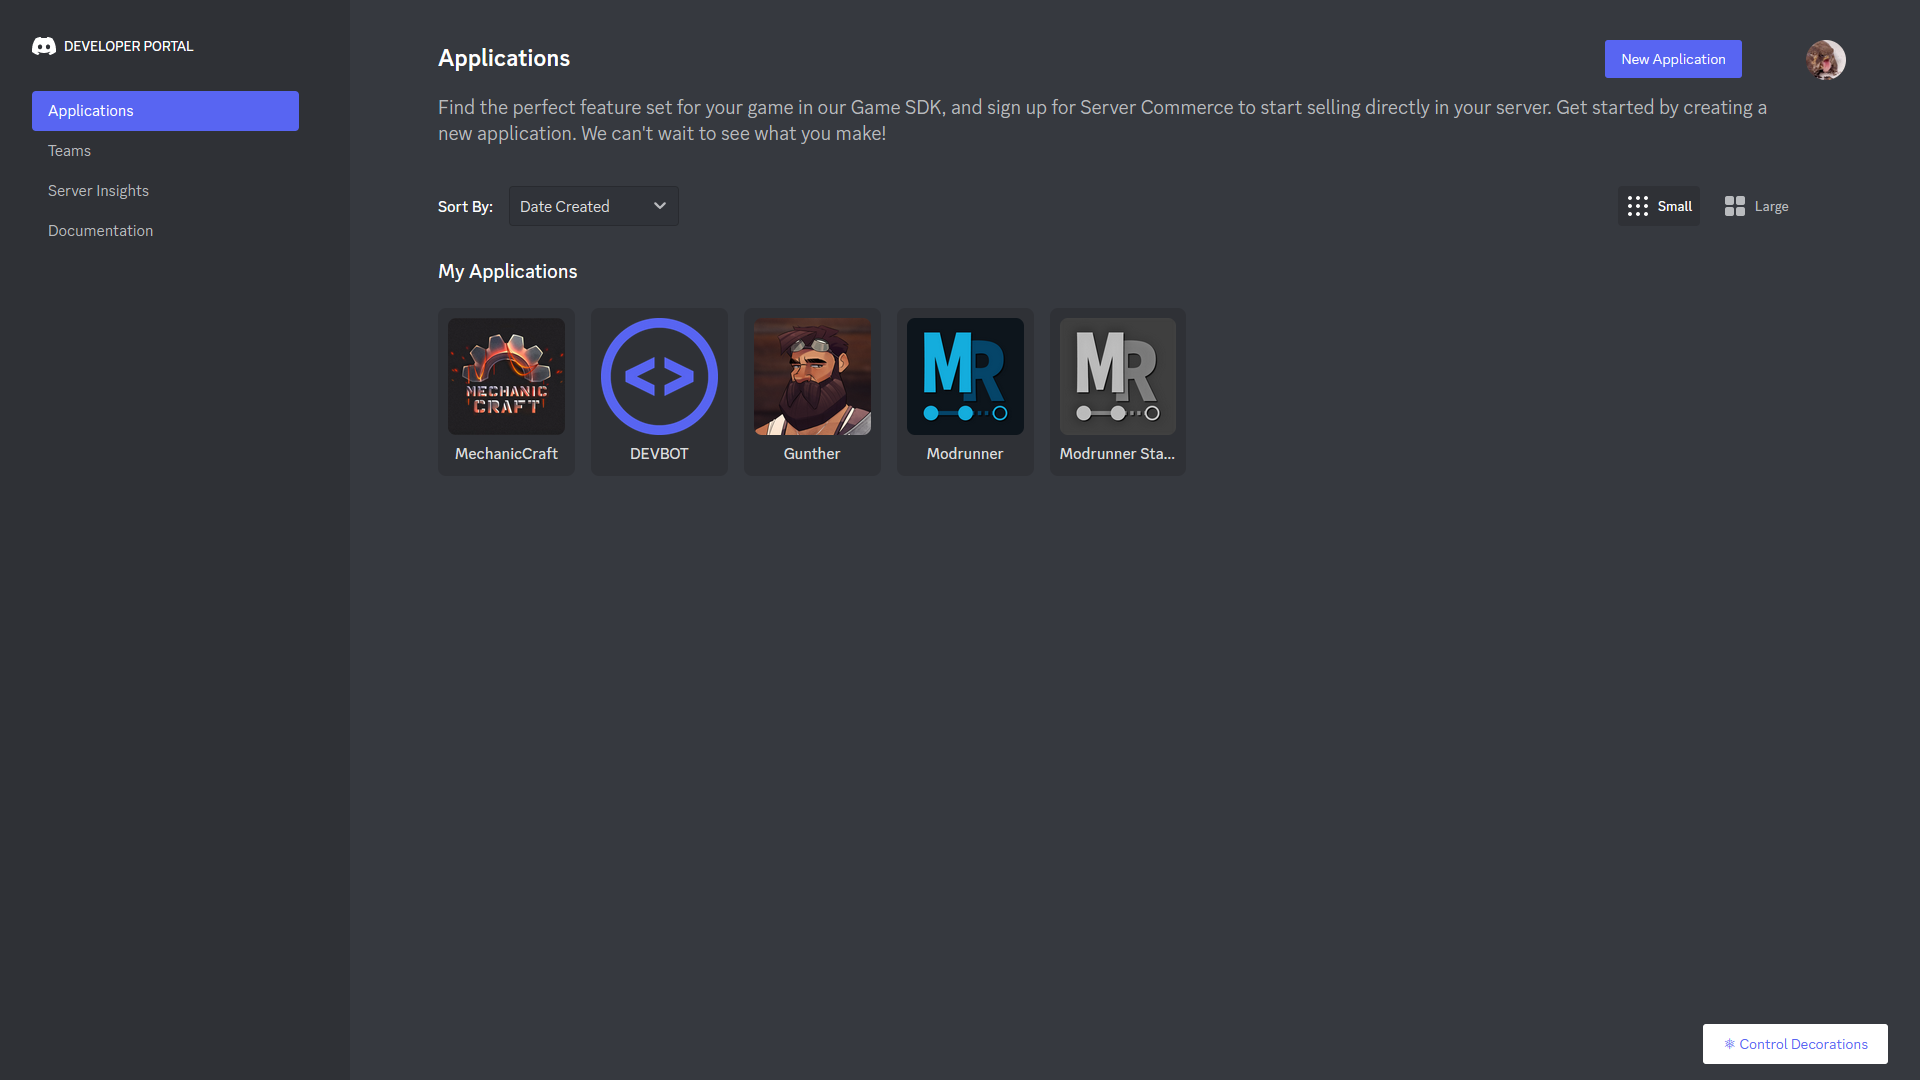
If you've never created a Discord app before, this page will be empty.
Click on the "New Application" button on the top left. Give your application a name, click the checkbox and click "Create".
Modrunner is licensed under the Apache 2.0 license. This gives you permissions to modify, distribute and use Modrunner's source code for commercial purposes. However, it does NOT allow usage of the Modrunner branding and name in your derived works. Please do not use the name "Modrunner" or use any official branding, icons or art to represent your own work.
Ta-da! Your Discord app is created. Keep this tab handy, we'll be coming back to it later.
Installing Node.js and npm
Next step is prep your virtual private server. If you don't already have one, you can purchase one from a variety of third-party vendors. I recommend Bisect Hosting(affiliate link) as you get the most bang for your buck compared to most other providers, but a VPS from anywhere will do.
Connect to your server using SSH. The simplest method is to use the ssh command in your computer's terminal and
login using the username, password and IP address for your server. You can also use an SSH client like PuTTY.
ssh USERNAME@IP_ADRESS
USERNAME@IP_ADDRESS's password: PASSWORD
Modrunner runs on the Node.js JavaScript runtime and will need it installed to function at all. To install Node, first install nvm using either one of the following commands in your terminal:
curl -o- https://raw.githubusercontent.com/nvm-sh/nvm/v0.39.3/install.sh | bash
# or
wget -qO- https://raw.githubusercontent.com/nvm-sh/nvm/v0.39.3/install.sh | bash
Verify nvm installed correctly using command -v nvm.
Then install Node.js and npm using this command:
nvm install node 16.14.2Then verify that Node and npm installed correctly using node -v and npm -v
Installing Modrunner
Using git clone
Using the terminal, move to the directory you want to clone Modrunner's code into, then run the command
git clone https://github.com/modrunner/discord-bot.gitThis will download the latest changes from GitHub and install them on the VPS.
Using FTP upload
You can also upload the files to the server using File Transfer Protocol. For this you will need an FTP client like FileZilla (examples will be shown using FileZilla).
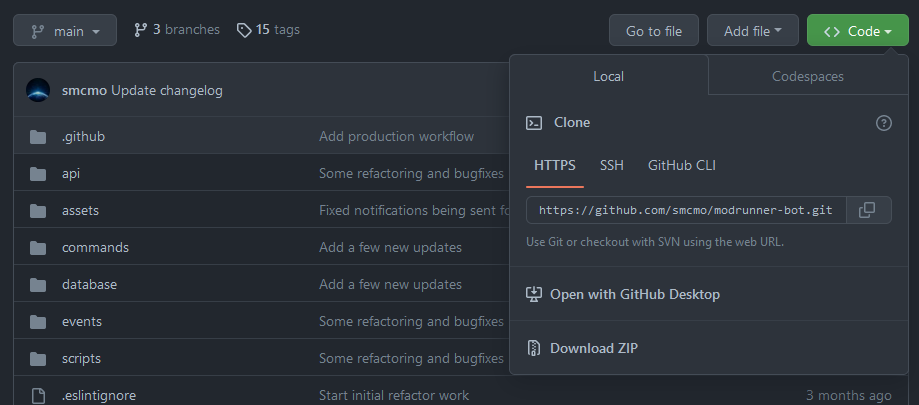
Head to Modrunner's GitHub page and click "Code", then "Download ZIP". Unzip the file on your computer once the download is complete.
Open up FileZilla and enter the IP address, username, password and port into the fields at the top and click "Quickconnect".
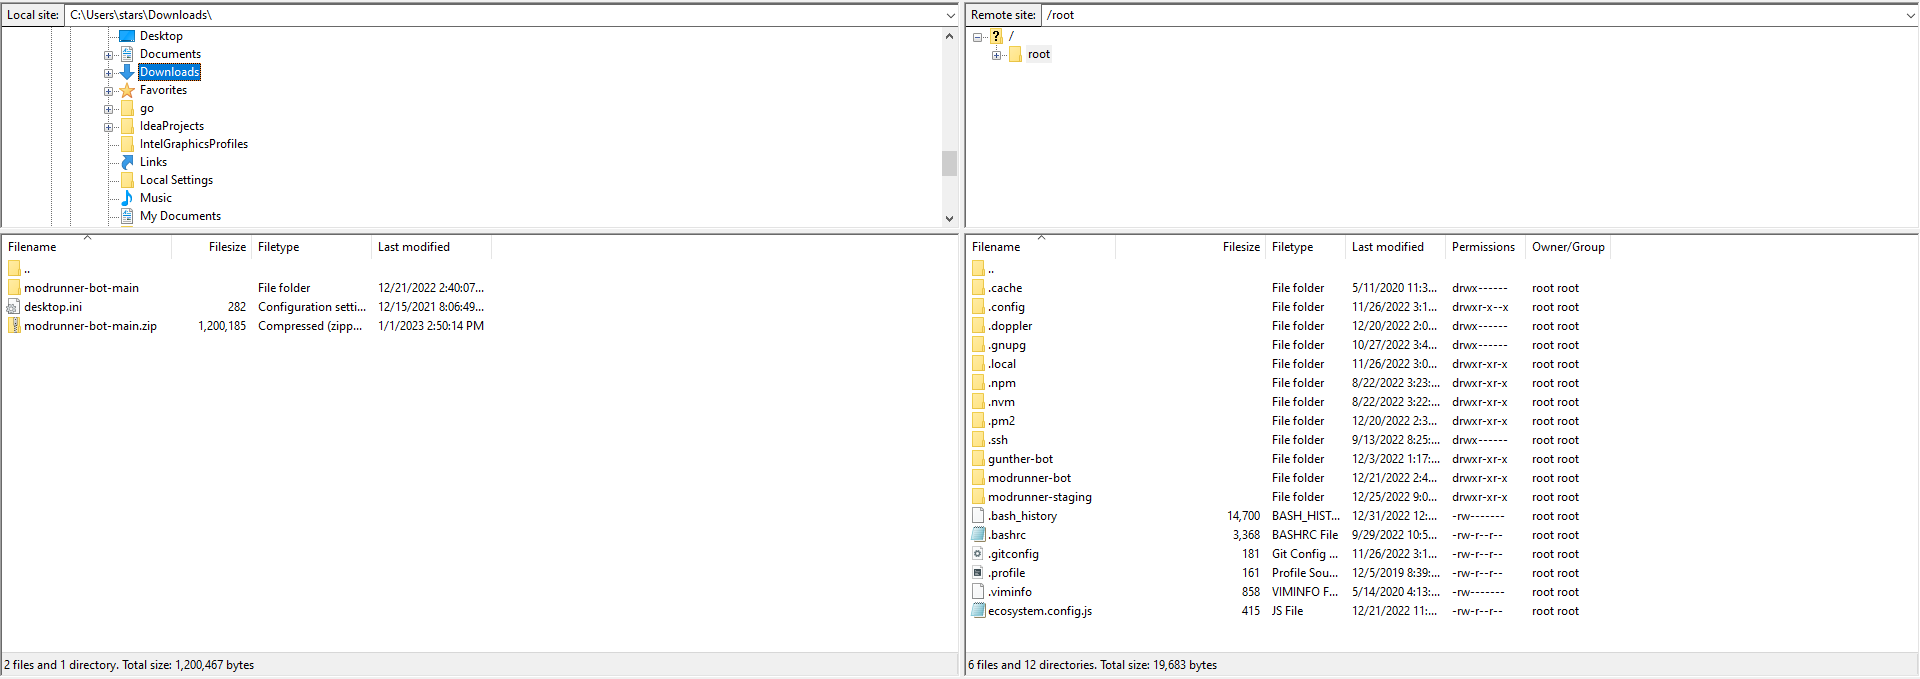
The panel on the left will show your computer's files, and the right panel will show the files present on your VPS. Yours
will likely not look the exact same as mine, but the process will still be the same. In the left panel, navigate to where
you extracted the ZIP to (in my case, the Downloads folder). On the right panel, navigate to where you want to install
Modrunner on your VPS, which in my case is the root folder. Drag the folder extracted from the ZIP from the left panel
over to the right panel and wait until FileZilla finishes the transfer.
Prepping Modrunner for use
We have the source code downloaded, but will still need to perform a few more steps for Modrunner to function properly.
Installing required packages
This is as easy as running a command:
npm installConfiguring Doppler secrets
Modrunner uses Doppler for secret management. Luckily, all the features we need are completely free, and it's easy to create an account and set up a project. However, if you'd prefer a simpler approach, head to the section on swapping out Doppler for Dotenv.
Head to Doppler and sign up using your method of choice. You'll be brought to the workspace homepage (yours most likely will have no projects listed):
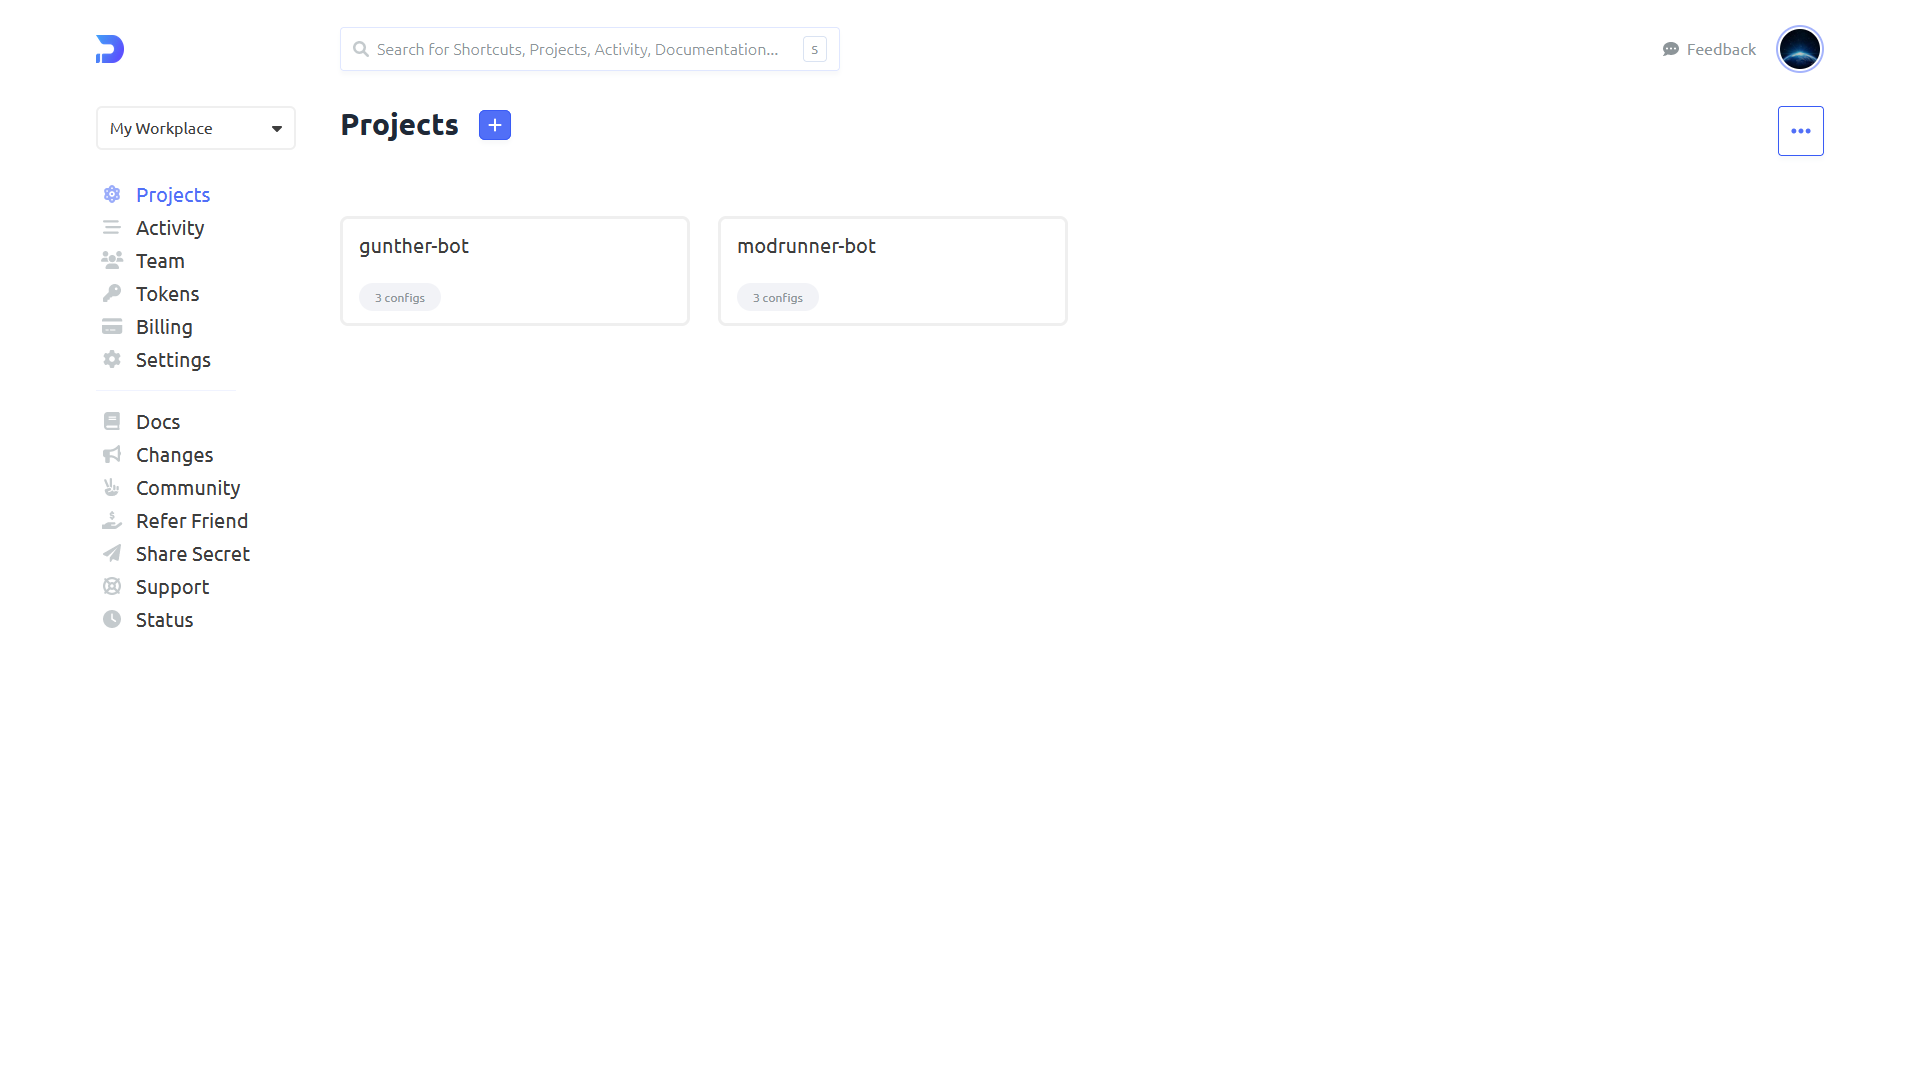
Click the plus next to Projects. Give it a name and description, and click "Create". You'll be brought to the project's environments page:
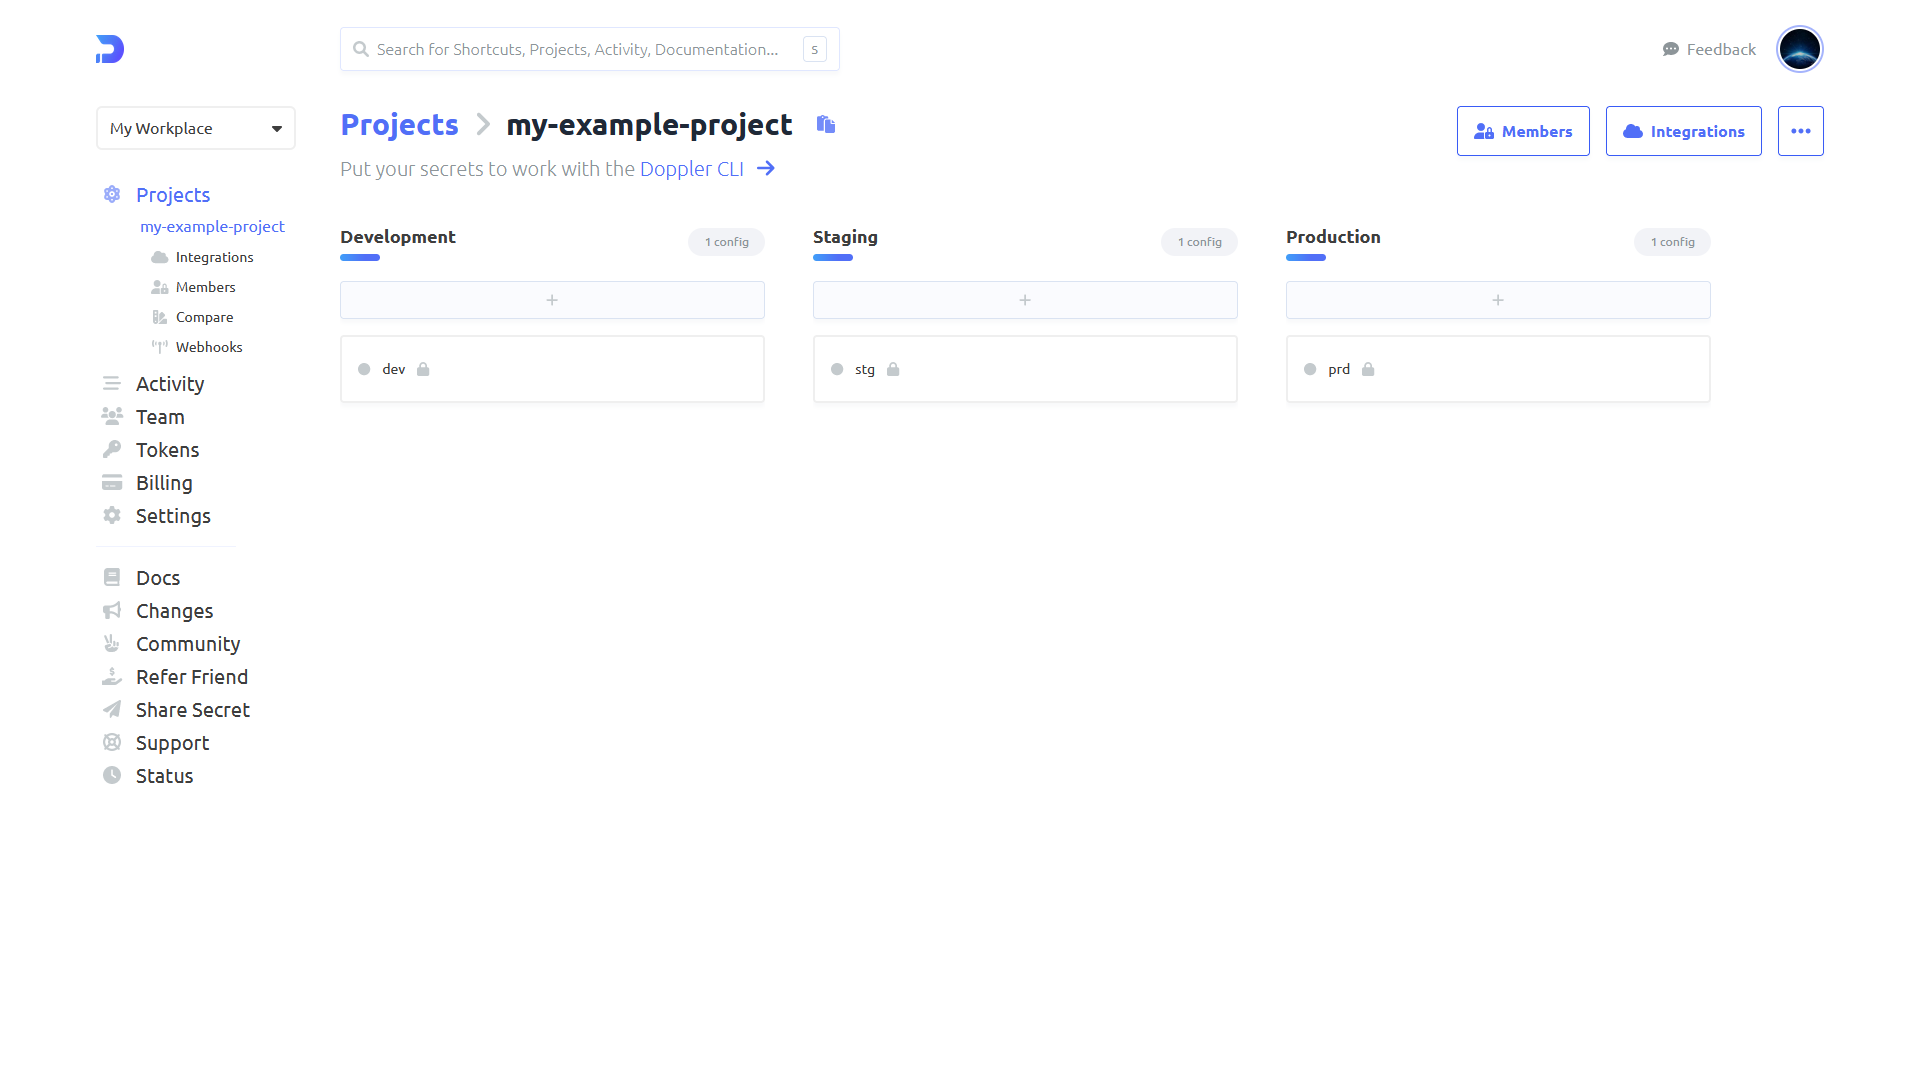
Click the prd box under Production. Click "Add First Secret". Now we can start adding all the secrets that Modrunner
needs to function.
Adding the application ID and Discord token
Head back to the Discord Developer Portal and navigate to the "Bot" tab, then click "Add Bot".
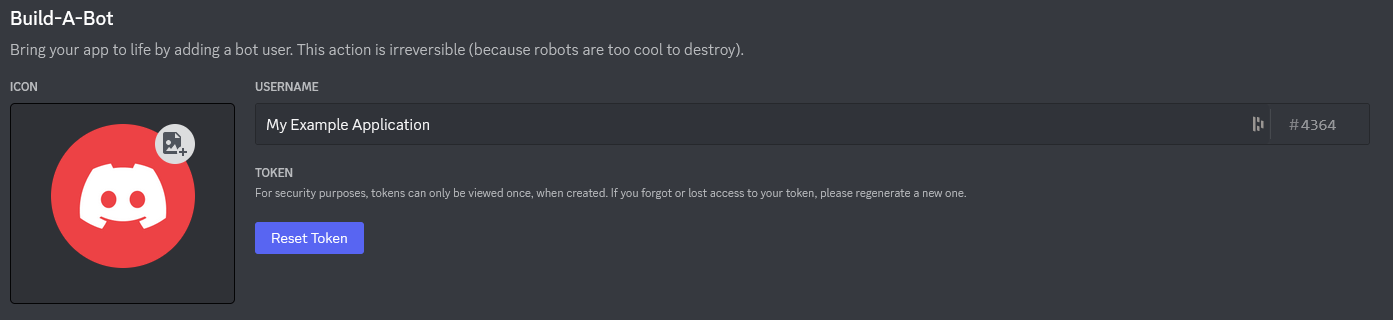
Under the username field, you'll see the "Reset Token" button. Click it, and Discord will generate a security token for your bot to use to access the Discord API. Copy the token and head back to Doppler.
Make sure never to share this token publicly. Otherwise, others may be able to hijack your bot. Keep it secret, keep it safe!

You'll see a pair of fields, NAME and VALUE. In the name field, enter DISCORD_TOKEN and paste the token you copied
into the value field next to it.
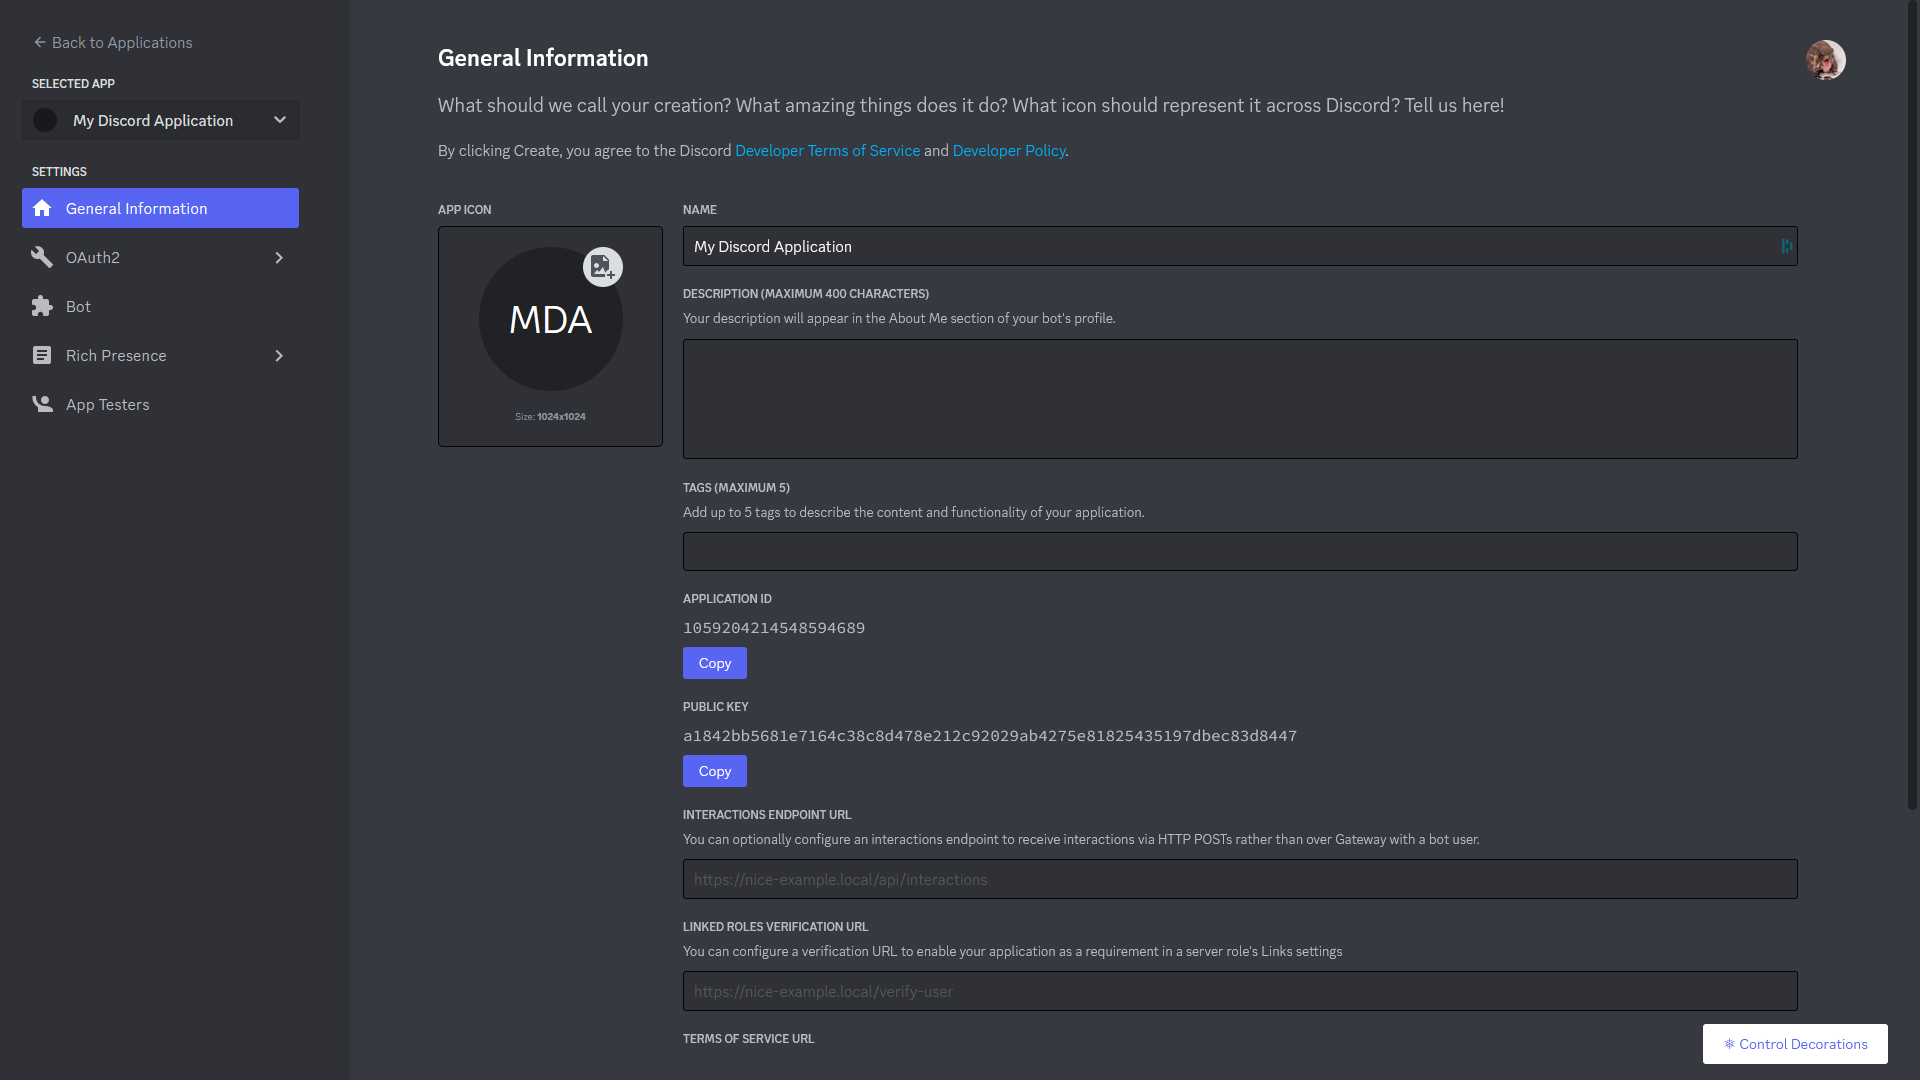
Now we need our Discord app's ID. Head back to the dev portal, navigate to the "General Information" tab and copy the
Application ID. Then head back to Doppler, click "Add a Secret", and enter DISCORD_APPLICATION_ID for the name and
paste the ID you copied into the value field.
Set the logging level
In Doppler, add a new secret. Set the name to LOGGING_LEVEL and the value to info.
Add a CurseForge API key
In order for Modrunner to be able to access the CurseForge API, we will need an API key. Head to Eternal, CurseForge's dev console service and sign up for an account, if you don't have one already.
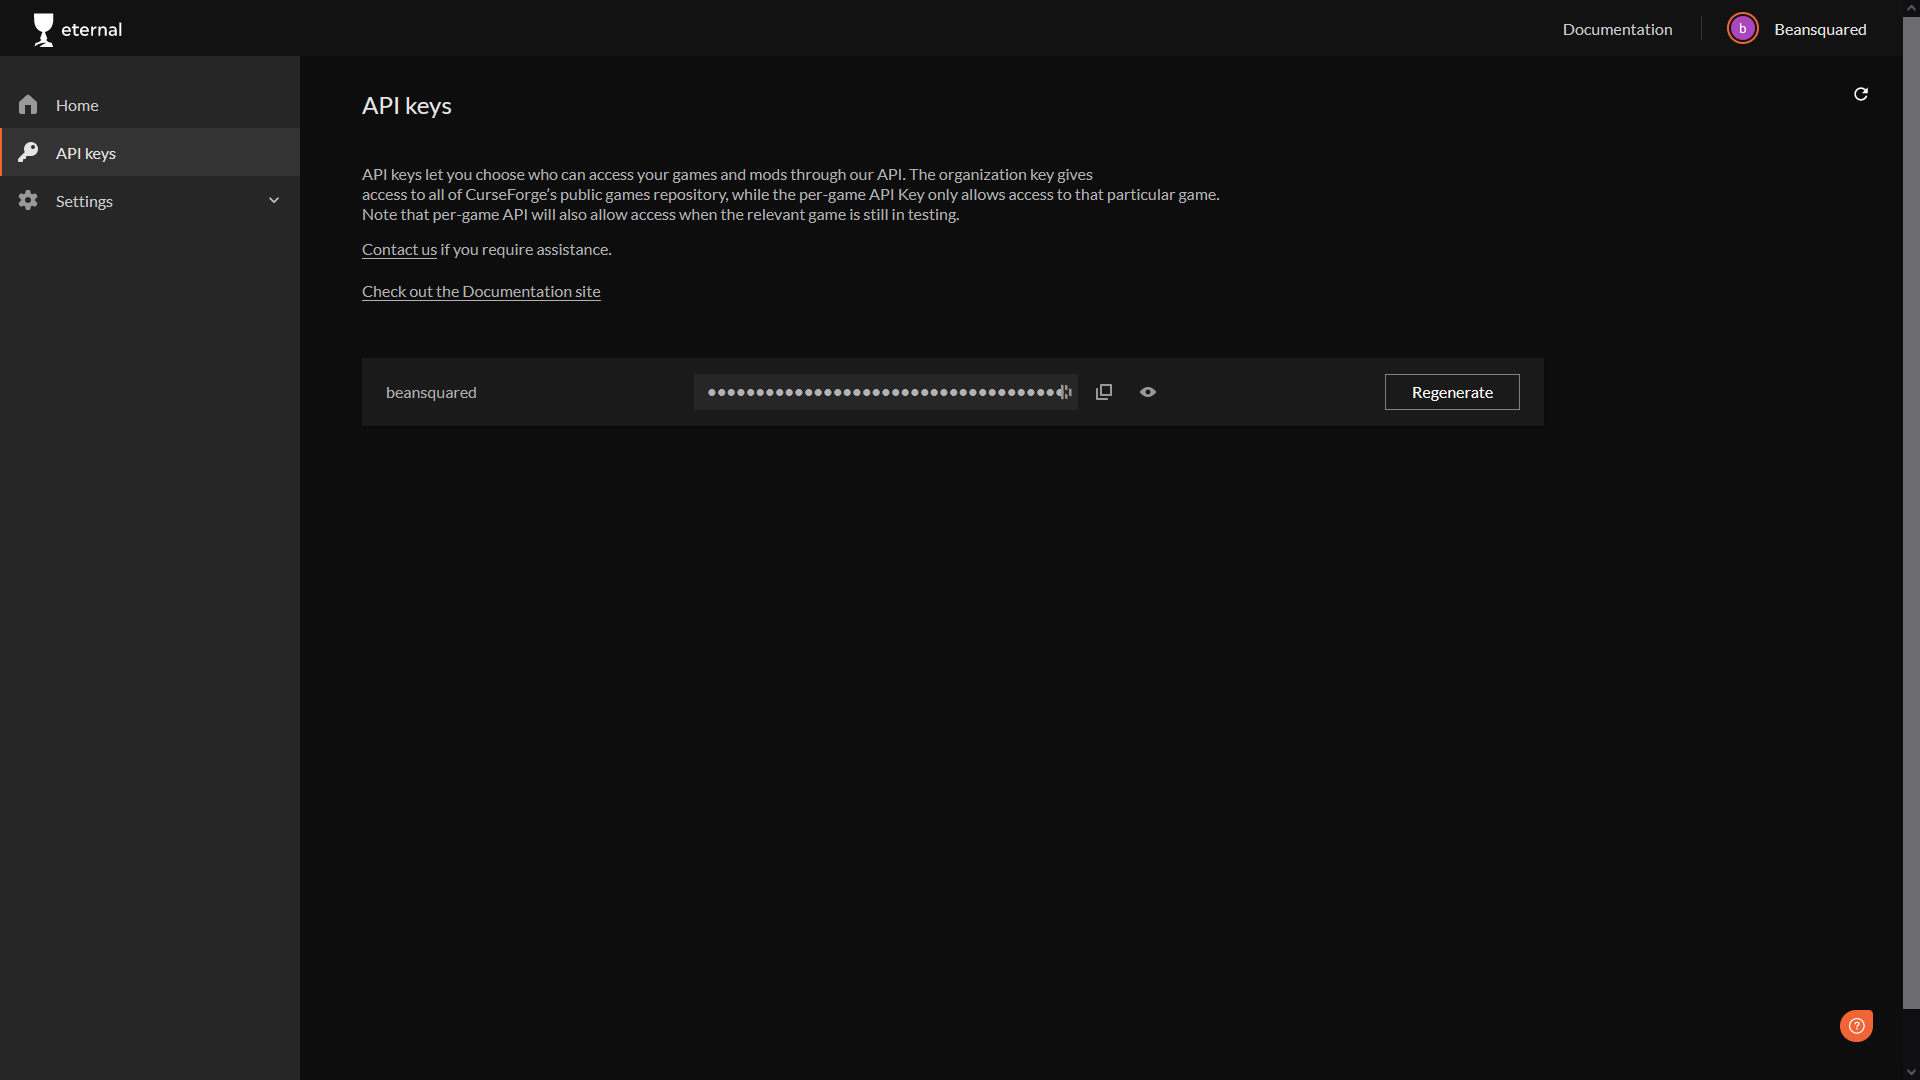
Once you're in, navigate to the "API keys" tab and copy the key next to your username. Head back to Doppler, add a new
secret, name it CF_API_KEY and paste in the key you copied for the value.
Be sure to never share your API key publicly. Otherwise, others may use your key to make requests on your behalf, and you don't want that!
This key's intended use case is primarily for content creators to upload project data to CurseForge programmatically, but we're using it to retrieve information about projects on CurseForge, which is also okay.
However, if you reuse this key for multiple projects you are likely to get rate limited by CurseForge. We recommend that you submit an application to CurseForge for a dedicated project API key, so you can use your personal key for other things.
Installing Doppler
Now we need to install Doppler on our VPS so our bot can pull the secrets from your Doppler project. Head to the installation docs and enter the commands for the operating system running on your VPS into your terminal.
Once you've done that, verify doppler was installed correctly using doppler --version.
Now we need to create a service token on Doppler, so we can give our VPS permissions to read our secrets from Doppler. Head to Doppler and navigate to the "Access" tab.
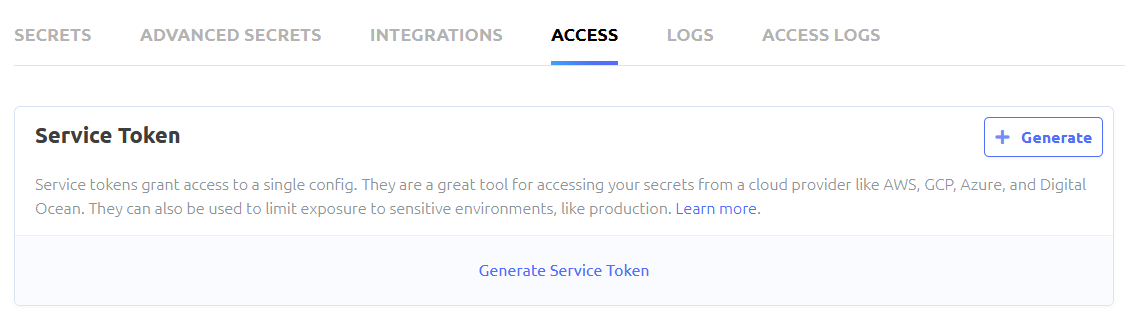
Under "Service Token", click "Generate". Give it a name, then click "Generate Service Token". Copy the token.
Make sure never to share any service tokens publicly. Otherwise, others may be able to access your secrets in Doppler!
Head back to the terminal. Enter the following commands:
# Prevent configure command being leaked in bash history
export HISTIGNORE='doppler*'
# Scope to location of application directory
echo 'SERVICE_TOKEN' | doppler configure set token --scope PROJECT_PATH
SERVICE_TOKEN is the token you copied from Doppler, and PROJECT_PATH is the relative path to where your project is
located on your VPS. I have my bot's code stored under /root/modrunner-bot, which is the path I would enter here.
Starting the Bot
Now we're ready to roll! Start the bot by entering this command:
npm run startThis command will do a few things:
- Register the bot's slash commands globally across Discord. Note that it may take up to an hour for the bot's commands to show in Discord.
- Creates the database for storing information about server settings and tracked projects
- Once those are done, starts the bot and enables it for use in Discord
Managing and configuring the bot
There are a few settings you can tweak and utilities you can use when managing your bot.
Configure logging level
You can change the level at which the bot logs certain events. By default, it runs at "info" level, which generally outputs things like when the bot is invited to a server, a command is run, or some other common internal process runs.
You can change the logging level by changing the value of the LOGGING_LEVEL secret in Doppler. Available levels are:
tracedebuginfo(default)warnerrorfatalsilent
Levels at the top of the list will log more verbose and greater amounts of information than lower levels.
Changing a server's maximum amount of tracked projects
The bot will limit a server to 100 maximum tracked projects to limit spam and abuse. It is possible to change this amount using an npm script. Start by running:
npm run set-guild-maxThe console will then request for the ID of the server you want to modify. You can get this by enabling developer mode in Discord's settings, then right-clicking on the server's icon and choosing "Copy ID". Then the bot will ask for the new amount of tracked projects.
Swapping out Doppler for Dotenv
Many still prefer the simplicity of a system like Dotenv for secret management. Instead of
saving secrets in Doppler, you can store them locally on your VPS in a .env file. Luckily, with a few small tweaks you
can run Modrunner using Dotenv.
It is recommended to have a basic-level knowledge of JavaScript/Node.js, git and local development environments before continuing with this section.
To make Dotenv work with the bot, we will need to make some minor changes to the bot's code itself. Fork the modrunner-bot repository on GitHub and open it up in a development environment of your choice. The easiest way would be to press "." on your keyboard when the fork is open in your browser, so that VSCode opens the repo right in your browser.
First we need to install the dotenv package. Run this command in a new terminal window:
npm install dotenv --saveNow create a .env file in the root directory. Let's add the required secrets to it:
CF_API_KEY="YOUR CURSEFORGE API KEY"
DOPPLER_ENVIRONMENT="prd"
DISCORD_APPLICATION_ID="YOUR BOT'S APP ID"
DISCORD_TOKEN="YOUR BOT'S TOKEN"
LOGGING_LEVEL="info"Make sure not to commit your .env file into source control, or your secrets will be exposed on GitHub for the world to see!
Now we need to import our values into each JS file that requires them by adding the following to the top of the file:
require('dotenv').config()Currently, these files will require secrets:
index.jslogger.jsregister-commands.jscurseforge.js
Once you've done that, we'll need to make some small changes to the startup scripts. Open up package.json in the root
directory and make the following changes:
- Under
scripts, change the value ofstarttonode . - Under
scripts, change the value ofregister-globallytonode scripts/register-commands.js --global
Then save your changes, push them to GitHub, and pull them onto your VPS.
The final step is to transfer your .env file to your VPS. Install FileZilla
if you haven't already, connect to your VPS, and transfer the .env over into the bot's root directory on the VPS. Restart
the bot, and you should be good to go!